Connect and Run
Connecting a Device
-
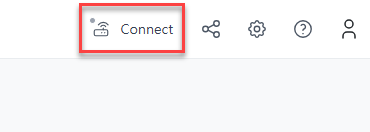
With a project open, click the Connect button in the upper right.
-
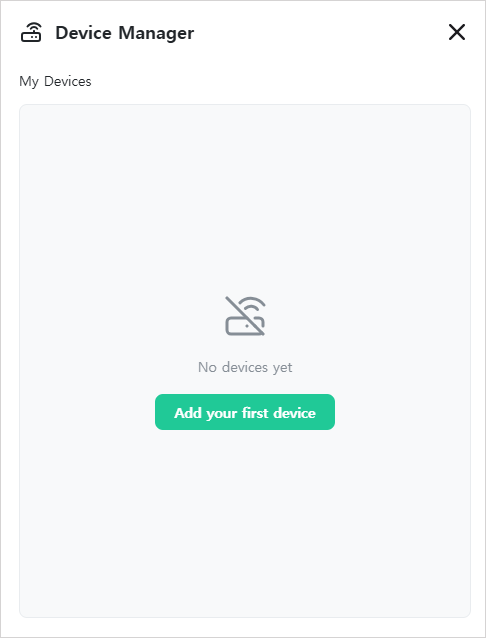
If this is your first time, the device list is empty. Click
Add first device.
-
Devices on the same network (router/Wi-Fi) are discovered automatically. Selecting a
device fills in its name and ID; rename it if needed and click
Add Device.
A device on a different network is added by entering its 16-character Device ID manually. Find the Device ID in the tray icon → About (Windows/macOS) or with
systemctl status grablo(Linux).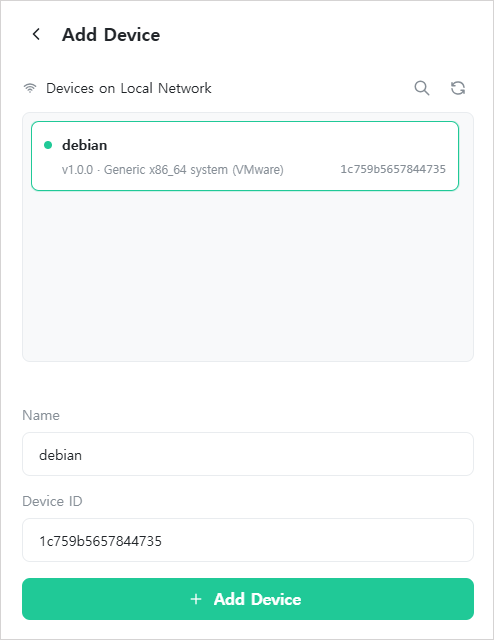
-
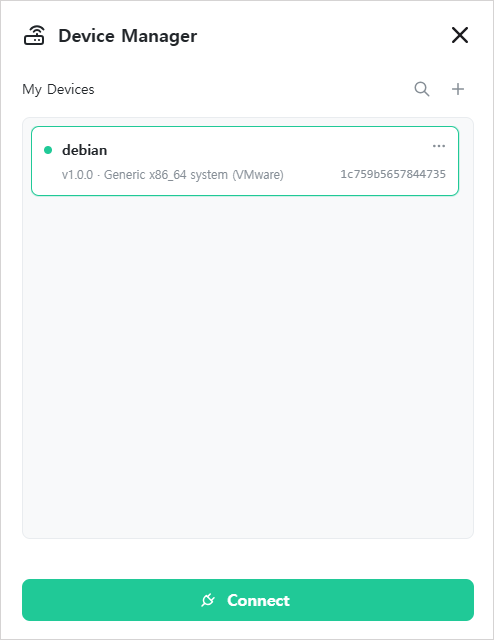
Select the device from your list and click Connect.
Added devices are saved to your account and can be connected from other networks afterward.
-
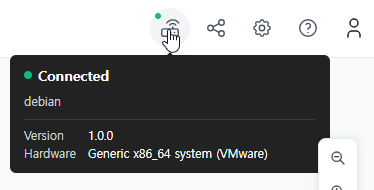
A green dot on the device icon indicates a successful connection. Hover over the
icon to see connection details.
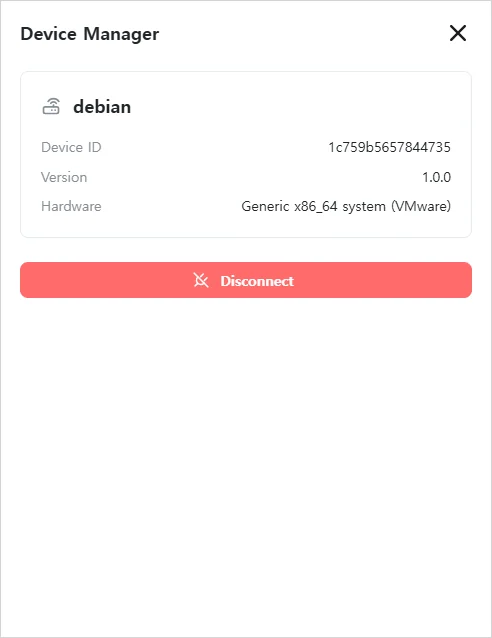
The project remembers the last connection and reconnects automatically next time. To disconnect, click the device icon again and click Disconnect.
Running
Once connected, the RUN/STOP buttons appear at the top. Clicking RUN sends all project settings to the device and starts the logic. The device then runs independently, so the browser can be closed.

Caution
Logic does not run just by being created. You must click RUN
for execution to start on the controller.