Create Your First Project
Build a project that turns on an LED when a button is pressed, covering the full workflow.
Watch the video
A finished example that sends an alert from a temperature and humidity sensor is
available as a
five-minute tutorial video.
Before You Begin
- Install the controller (Grablo IoT Core) and connect it to your network. See Part 2 for installation and connection.
- Sign in with your Grablo account. You can build logic without hardware; the controller is required at RUN time.
Steps
- In My Projects, click New Project and set the name, version, and device. The new project opens automatically. The device selection determines the GPIO (general-purpose I/O pin) map (Part 3).
- In the Logic tab on the left, click + to add a logic. An execution cycle of 50 to 100 milliseconds is suitable for general use.
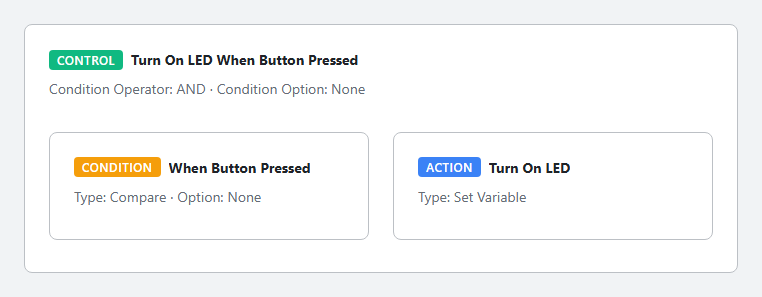
- Click + Add in the upper right and select Control. A control is added as a card with a condition area and an action area.
-
In the condition area, click + Add →
Condition and set the type to
Compare. If no variable exists yet, you can create one right
in the input field (Digital type, e.g.
button). - In the action area, click + Add → Action, set the type to I/O Device Control, and select the command that turns the LED on. If the device is not registered yet, add it first in Settings → I/O Device (Part 7).
-
In the Dashboard tab on the left, add a dashboard,
then use Add Widget to create a Push Button
widget and bind it to the
Buttonvariable. - Click RUN in the upper right. The project settings are sent to the device and the logic starts. Pressing the push button on the dashboard now turns the LED on.
Note
To keep an execution history, create a channel in Settings →
Data Logging and bind variables to it
(Part 6). Recorded data can be viewed with the
Historical Chart and Historical Table widgets.
Open the finished example
The finished example from the tutorial video (a smart temperature and humidity
monitoring system) is available as a shared project. Open the
example project link
and sign in; a copy of the project is added to My Projects. The
example consists of the following features.
- Shows temperature and humidity on a real-time web dashboard.
- Gives a voice alert when the temperature exceeds the set threshold.
- Indicates the temperature warning level with LEDs.
- Sends alerts only during working hours (9 a.m. to 5 p.m.).
- Announces automatically when the temperature returns to normal.