Creating Your First Rule
Build a rule that sends a notification when a person appears at the front door, covering the full workflow.
Before You Begin
- Install the Grablo controller software on the machine that will run the monitoring, and connect it to your network. A wired connection is recommended.
- Connect the cameras to the same network as the controller and have their addresses and passwords ready.
- Sign in with your Grablo account.
Monitoring and configuration can be done from anywhere. Only the cameras and the equipment need to be on site with the controller.
Steps
-
Click Connect in the upper right and select your controller.
Controllers on the same network are listed automatically; a controller on another network can be added with its 16-digit device ID. After the first connection, reconnection is automatic.
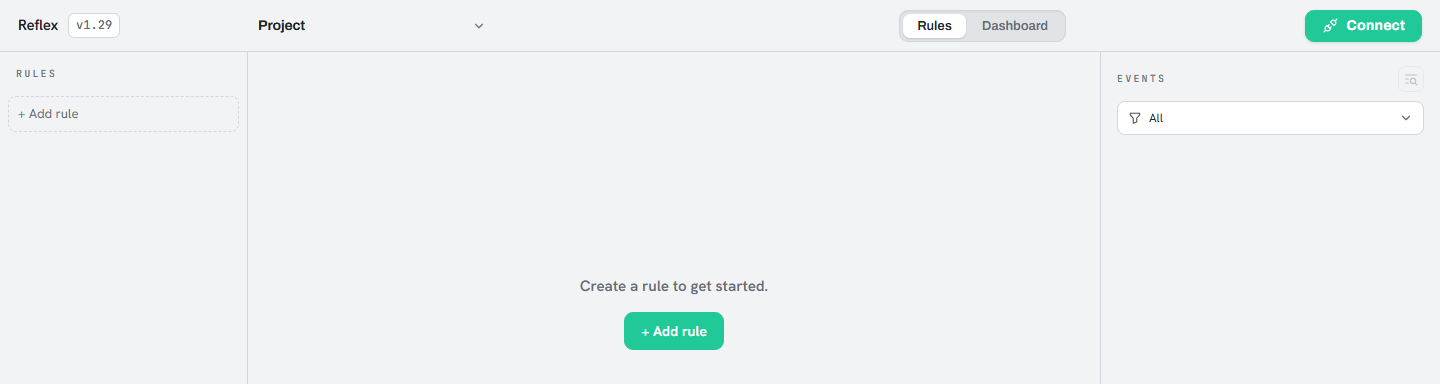
An empty project. Rules are added to the list on the left. - Click + Add rule in the left column and enter a name. Naming rules after the situation rather than the hardware makes them easier to manage, e.g. "Person at the front door".
- Click + Add condition and select AI Camera.
-
Select the camera and the analysis (what to detect on that camera). If none exists yet, both can be created from this
panel. Set Condition to Specific object
and Target value to
person, then click Add.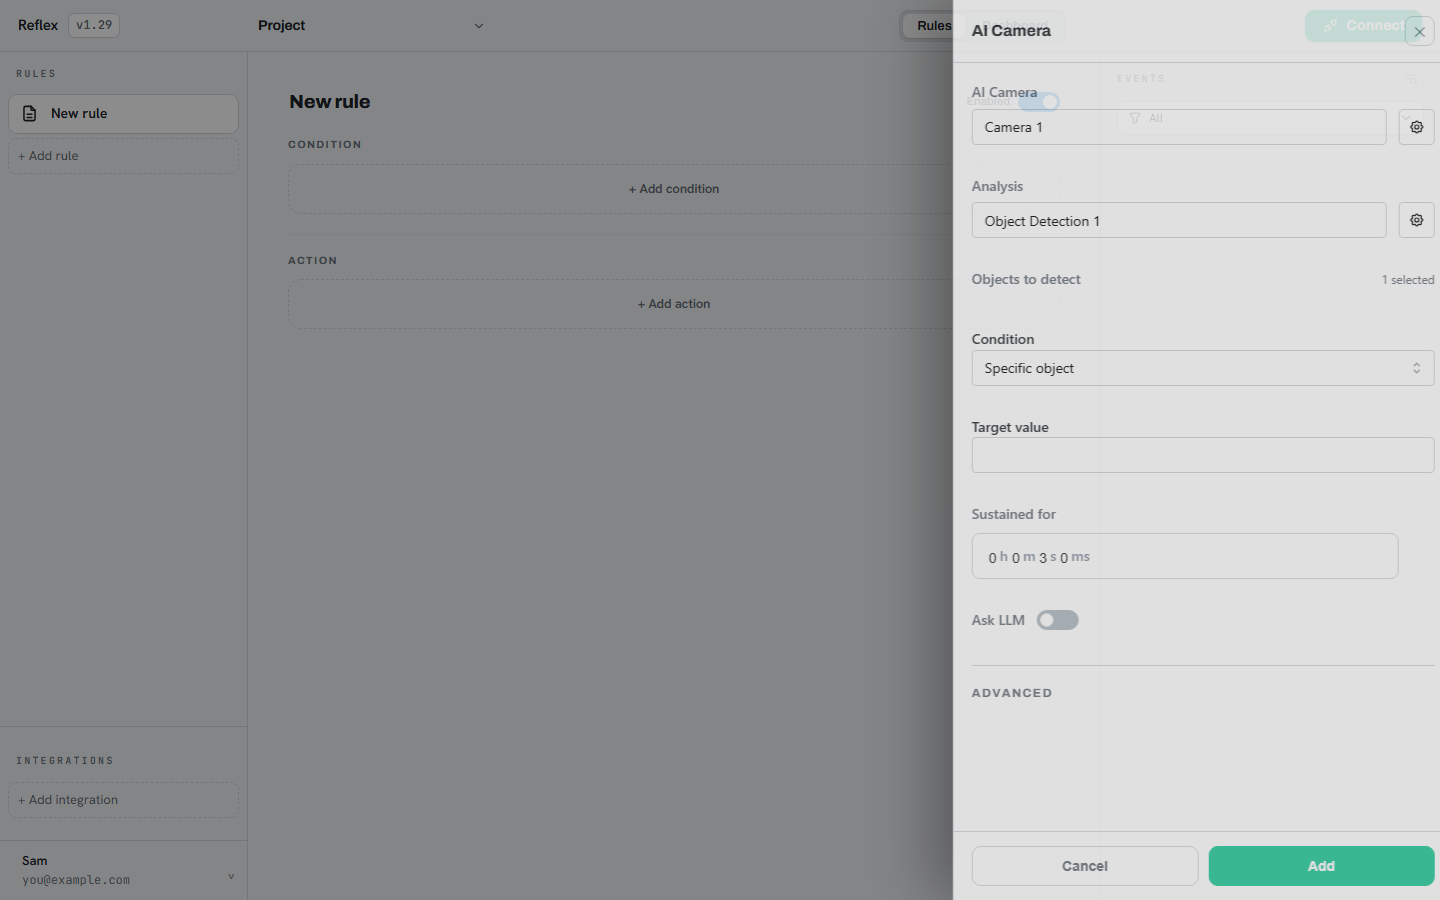
The condition panel. Every setting a camera condition needs is on one page. -
Click + Add action, select Push Notification,
enter the title and message, and save.
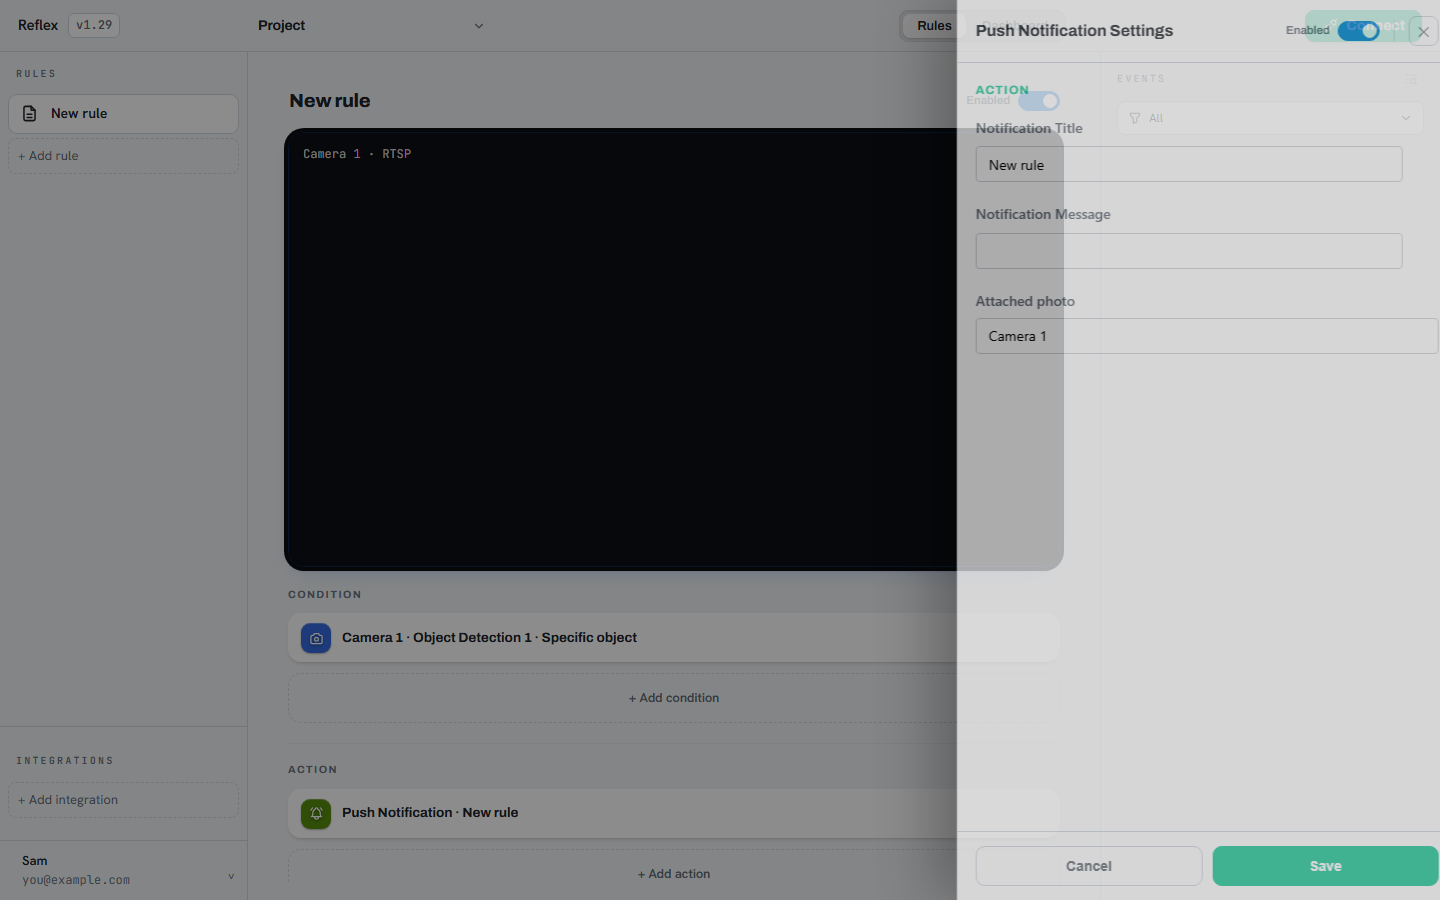
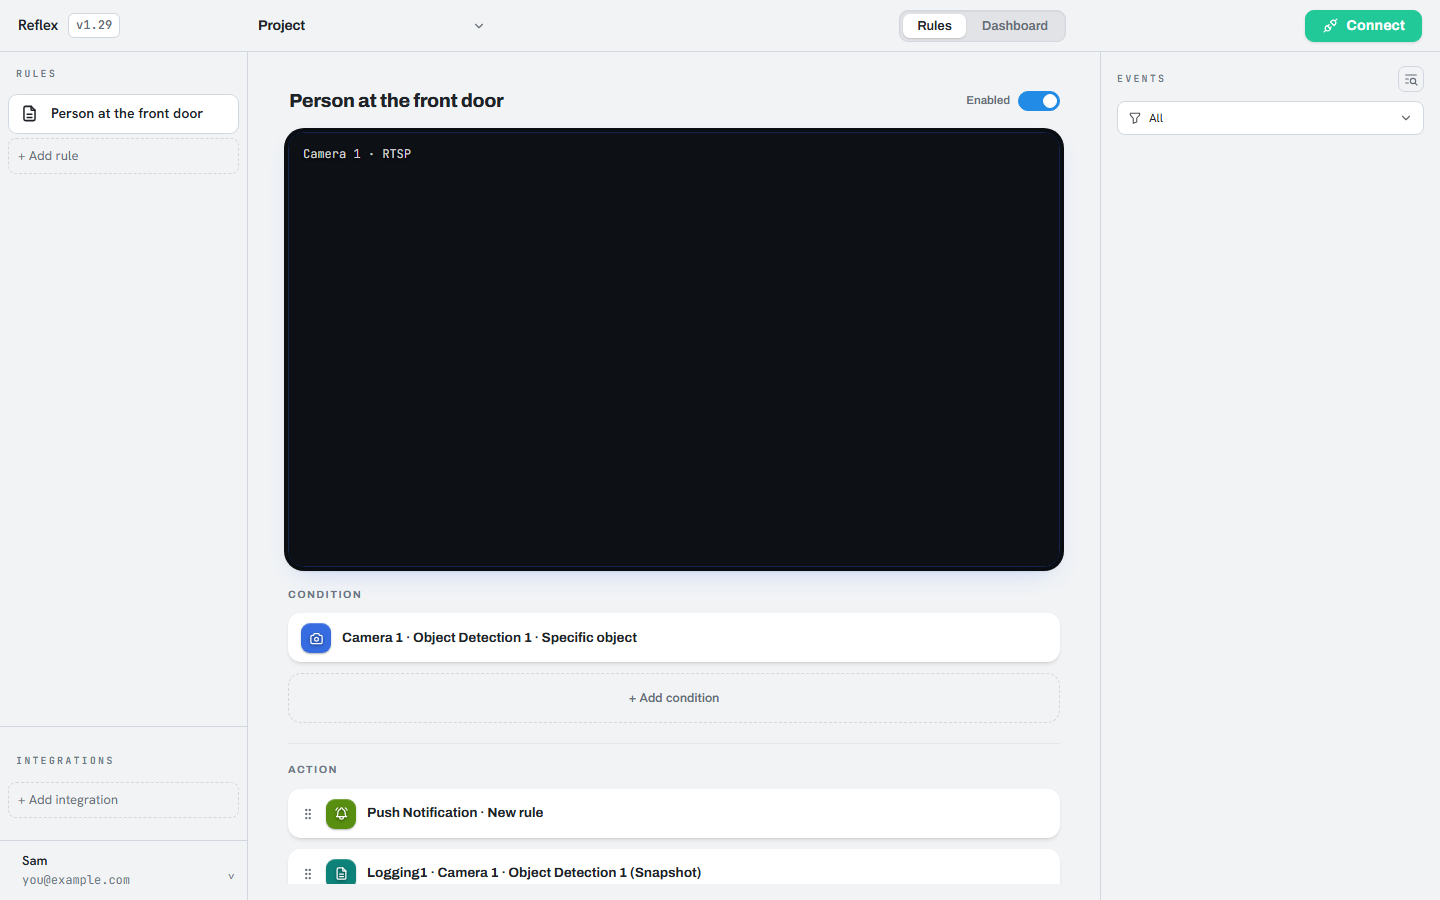
The action panel. Set the title, message, and which camera's photo to attach. - Click the Start button in the upper right. The rule is now active. When a person is detected for longer than the hold time set in the condition, a notification is sent to your phone.
Note
Adding a Logging action is recommended. Without one, notifications
are delivered but no event record is kept, so there is nothing to review afterwards. See
Keeping Event Records.