Creating an Alert
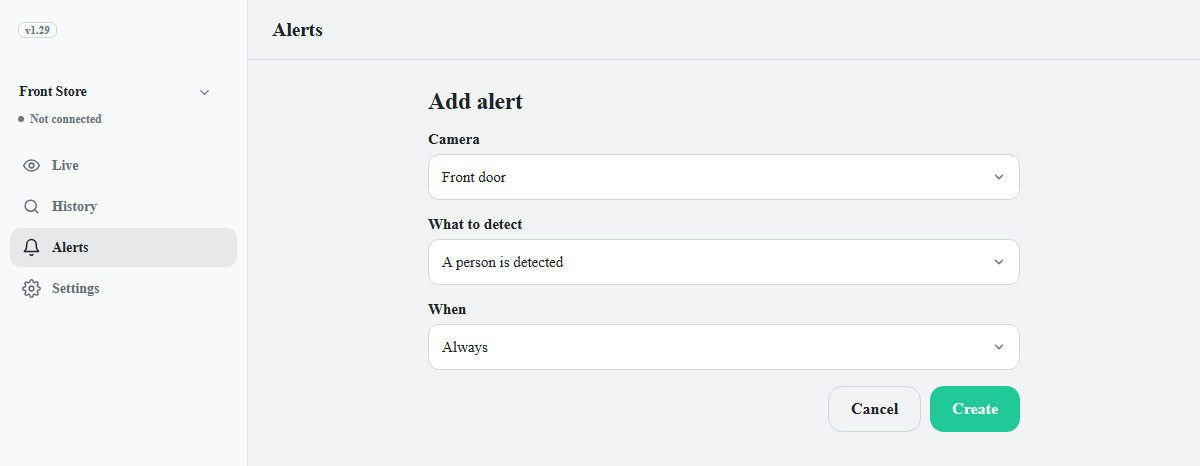
- On the Alerts tab, click Add alert below the list. If there are no cameras, Add a camera first. Alerts are set up by choosing cameras. is shown instead.
- Click Camera to open the list and check the target cameras. Several cameras can be checked. All cameras at the top selects or clears every camera that exists now. The first camera is selected initially.
- Under What to detect, select the situation to be notified about.
- If Specific face detected was selected, choose the person under Who.
- Set When. If Pick my own hours is selected, enter the start and end times. The two times must differ before Create becomes available.
- Click Create. The alert is added to the list, and the You have unsaved changes bar appears at the bottom of the screen.
- Click Save on that bar. If the device is running, click Apply in the Restart device dialog.
| What to detect | Fires when | Requirements |
|---|---|---|
| Person detected | A person appears in view. | None |
| Registered face detected | A registered person is recognized. | Face recognition on, at least one face registered |
| Unregistered face detected | A face not on the registered list is detected. | Face recognition on, at least one face registered |
| Specific face detected | The specified person is recognized. | Face recognition on, that person registered |
Note
Creating a face alert while face recognition is off shows the privacy notice; agreeing turns
face recognition on as well (applied when you save). Without registered faces,
Specific face detected is shown with (register a face first)
and cannot be selected.
| When | Active hours |
|---|---|
| Always | 24 hours |
| Daytime only | 07:00 to 18:00 |
| Nighttime only | 18:00 to 07:00 |
| Pick my own hours | Start and end times are entered manually. |
Note
The notification method is not selected separately. A newly created alert always
sends a phone notification. To stop receiving it, switch the alert off in the list and save.