Browsing by Time Range
The History tab offers two views, selected next to the title: People and Scenes.
| View | Contents |
|---|---|
| People | Shows each recorded person as one card. See The People View. |
| Scenes | Lists recordings in the order they were detected. Recordings are also deleted from this view. Described below. |
Choosing a range
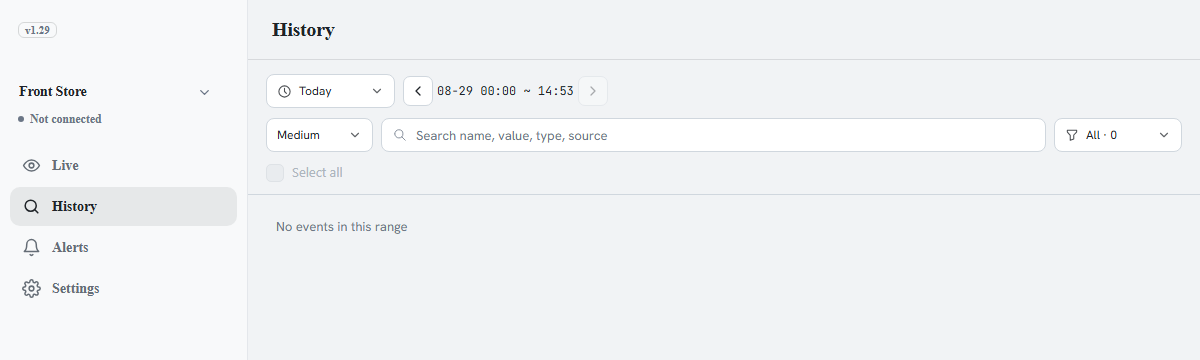
The range currently being viewed is shown above the list. Clicking it opens the picker, and the arrows on either side move to the previous or next range of the same length. A range that has not ended yet, such as Today, cannot move forward.
- Under Quick ranges, clicking Today, Yesterday, Last hour, Last 6 hours, Last 24 hours, or Last 7 days applies it immediately.
- In the calendar, clicking one day selects that day; clicking a second day selects the range between them. Days after today cannot be selected.
- Adjust the hours under From and To, in one-hour steps.
- Click Apply to apply, or Cancel to close the picker.
Working with the Scenes list
- Clicking a recording plays its video right away; a recording with only a photo shows the photo enlarged.
- When a person stays a long time, recording is split into several scenes after a certain size or duration. Each part is played separately.
- Above the list are Select all, the photo size (Small, Medium, Large), and the camera filter, where you choose All or check the cameras to show.
- While the list is scrolled away from the top, newly arriving recordings do not push it around. The n new scenes button appears instead; click it to bring them in.
- Drag the handle of the time bar along the right edge to see the time at that position; releasing reloads the list from that time. If nothing was recorded then, the closest earlier recordings are shown. The back-to-top button at the bottom right returns to the newest recordings.
Deleting recordings
Hovering a tile shows a trash icon (Delete this item) for deleting one recording; to delete several, select them and use Delete selected in the toolbar. The player also offers Delete this record. Deleted recordings cannot be restored, and recordings still in progress are not deleted.
Playing a recording
Clicking a recording opens the player. The tick marks on the progress bar are the points where a person was indexed in that video, and the red marker is the Event moment.
| Control | Action |
|---|---|
| Click the picture | Toggles play and pause. |
| Progress bar | Drag to move through the video. Click a tick mark to jump to that point. |
| Three buttons above the bar | Previous indexed point, play/pause, and Next indexed point. Use them to skim only the moments where a person was captured; the count of points passed and total points is shown below. |
| ‹ › at the sides | Move to the previous or next recording in the list. |
| Wheel · two fingers | Zoom into the picture, up to 4 times, then drag to move around. |